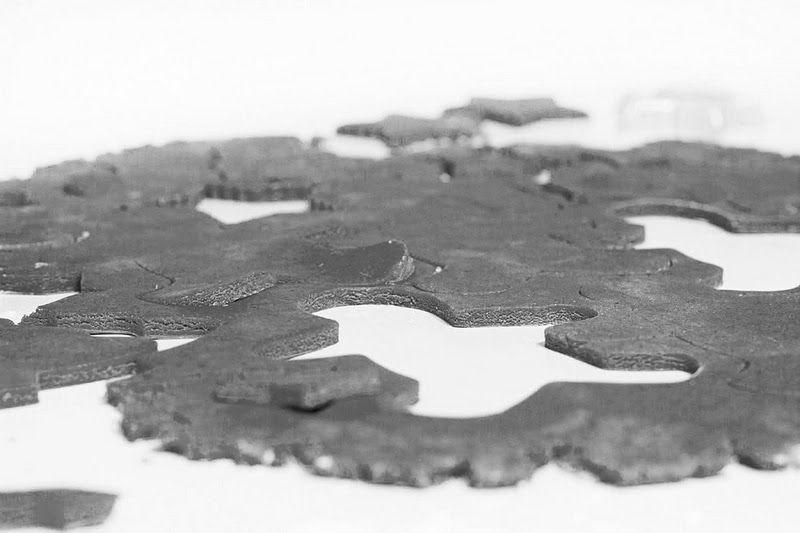
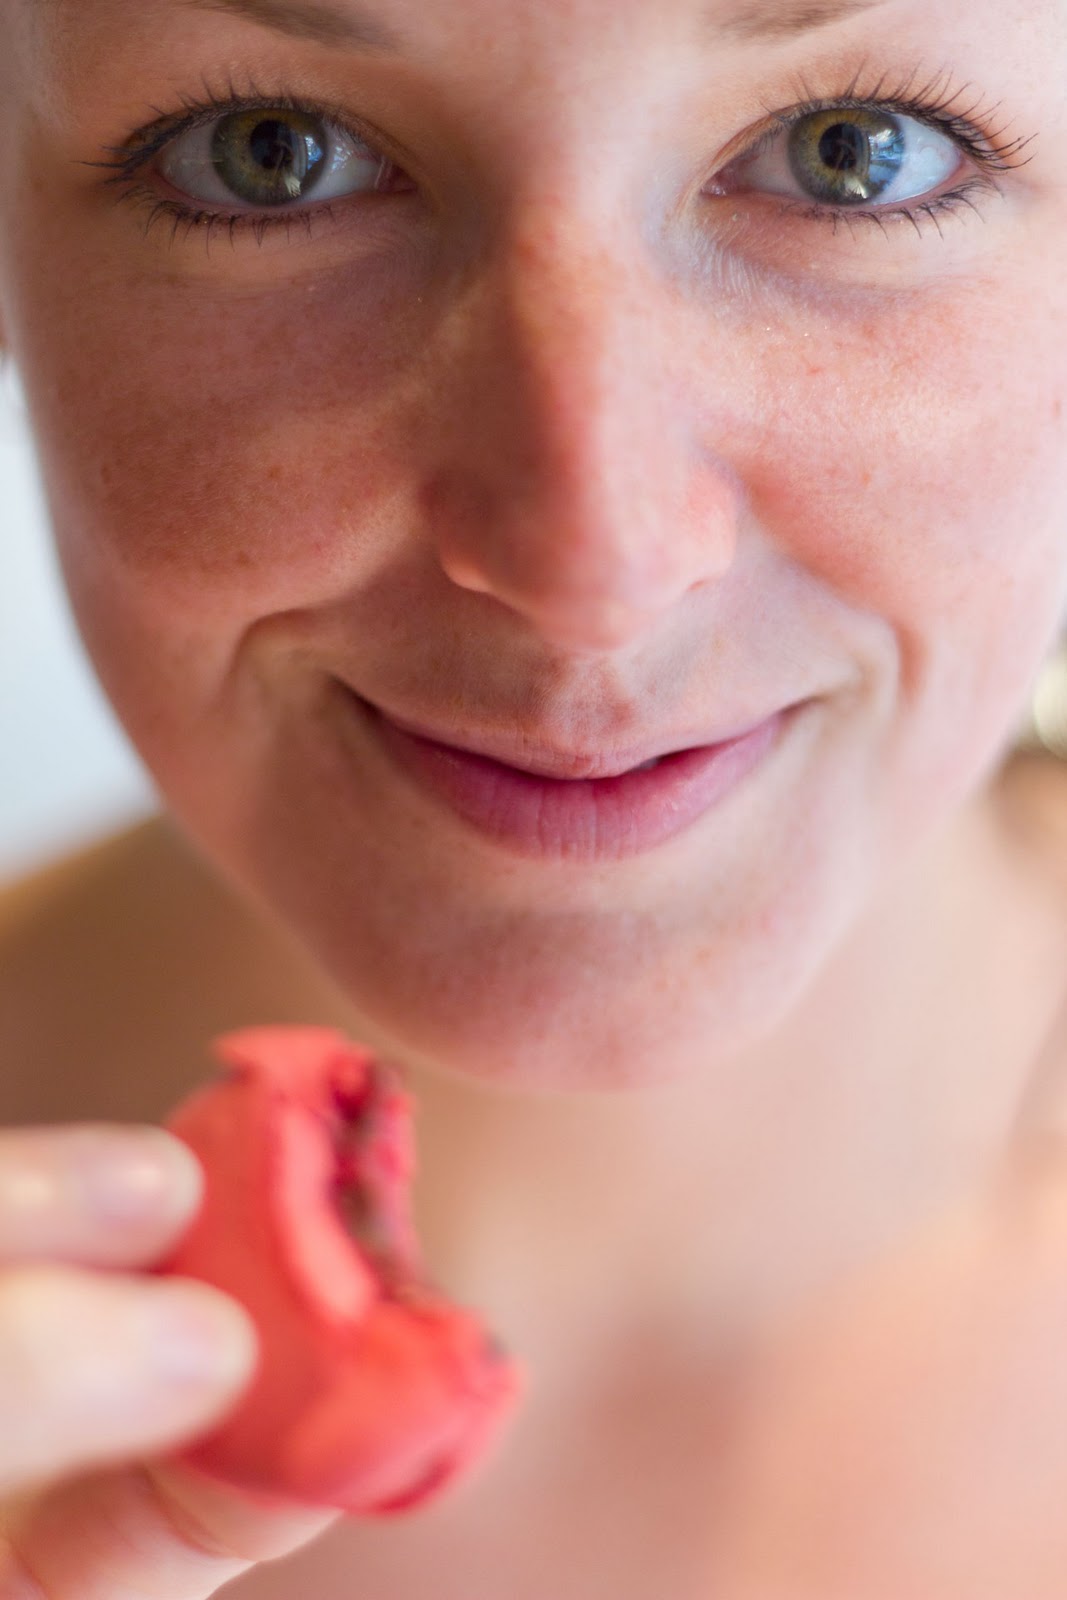
Showing posts with label cookie. Show all posts

February 8, 2012

30 is the new 29


I know a lot of people born in 1982 and you know what that means... they will all be turning 30 this year. Thirty is a big deal. People have extravagant parties and destination parties and I happen to be going to two before May. I'm also happy to report I was born in '83. There is still time! Apparently I need to start planning something amazing. Oh, and I'll need to begin my list of Thirty before Thirty (the 30 things you want to accomplish before you turn thirty). Until then, I'll keep baking you cakes!

Heed these words of wisdom from Lucille Ball, "The secret to staying young is to live honestly, eat slowly, and lie about your age." HAPPY BIRTHDAY to all my 30-somethings and a pre-happy birthday to those of you who will soon be thirty (aka my sister!).


Cakes worthy of a 30th Birthday Celebration

December 21, 2011

Merry Merry Gingerbread Men


I wish there was a magical recipe generator that combined the best recipes on one website... then I would waste less time looking through hundreds of recipes! Until this exists, I will trust a tried and true method... asking friends. My friend Nicole suggested I make a recipe for gingerbread cookies from Not Without Salt (a fantastic blog by the way). Nicole and I would make a mean baking duo if we lived in the same city again....

When I read through the recipe I was nervous about the amount of black pepper. I like spiced cookies, but was a little unsure of spicy cookies. Nicole assured me they were great, so in the end I used about half of the black pepper called for just to be sure. I made gingerbread cookies for a dinner party we had with some friends. I thought it would be fun to decorate them all together and it was! I'd like to make this into a tradition, decorating cookies that is, no matter who comes to the table. Traditions give meaning to otherwise meaningless baking and I think creating a tradition of gingerbread cookie decorating would be great.


(I added only 1 tsp of black pepper)

October 30, 2011

Happy Halloween


I love Halloween! I don't have kids, and I'm thankful San Francisco doesn't put an age limit on dressing up. Michael and I went with some friends on Wednesday to an underground restaurant/costume party at a "haunted" house in Alamo Square hosted by Stag Dining Group. We paraded through a gigantic house-turned boarding school-turned artist studio/event rental complete with a larger than life size painting of Michael Jackson in full Thriller get-up. Oh, and loads of gorgeous glitter paintings. Yes, I said glitter and gorgeous in the same sentence! Artist Rene Garcia Jr. is a genius with glitter. My limited experience with glitter involved a bottle of Elmer's Glue....

We jumped from dark rooms into dark hallways to scare other diners in a creepy empty top floor, and walked through a staged "Haunted House." We also drank some interesting cocktails by Cocktail Lab complete with basil seeds and rum that look and feel texturally like you are chewing on eyeballs. They also made a "Hannibal Lecter;"a whisky sour with chianti poured over a spoon on top to keep the colors separated, which I liked much more than the first.
The chef's behind the Stag Dining Group created a great menu for the night:
Crab Puffs - Togarashi, lemon
Roasted Beets & Carrots - goat cheese mousse, preserved lemon-honey vinaigrette, rye crumble
Squid Ink Chowda - lobster, kabocha squash, clams
Baby-Back Ribs - smoked maple glaze, apple celery root slaw
"Drumstick" - dark and stormy brownie, rum ice cream, waffle cone 

I can't complain much about the food, only a little about the timing. It was fun and provided a good test run of the costumes. 

Saturday I spent a majority of the day decorating the house with spider webs and fake plastic spiders for our grown-up Halloween party. I also tried a new recipe for sugar cookies. They are super soft and puffy and very much like the kind you buy in the grocery store... you know, the round ones with sprinkles coordinating with every holiday. The recipe is great. The cookies are not overly sweet and pair well with the buttercream frosting. I prefer buttercream on cookies as opposed to royal icing decorated cookies - the buttercream tastes so much better. The recipe I tried came from Sweet Pea's Kitchen and I didn't change a thing (except on the second batch I rolled them a bit less than 1/4"). The general consensus was good and Michael really liked them. I believe his exact words were, "Those cookies are the Bomb!" Then we laughed and high-fived. This is the key to a good marriage. 

Hopefully I'll get to hand out some candy to neighborhood kiddies this year since we have a front door! I think I'll refrain from my creepy Black Swan costume as well... no need to terrify the little ones. 


Happy Halloween!

October 16, 2011

Successful French Macarons!


Last month, I had a Fight with French Macarons. Literally. They stuck to my parchment and the tops cracked a bit. I had no idea why, so I decided to take a class from Richard at Baking Arts here in San Francisco. Richard is pastry genius and a fantastic teacher. His classes range from the most simple biscuit and scones to intricate sugar flowers and souffles. He's a stickler for his favorite brand of chocolate and makes the most seemingly-difficult macaron easy. So, thanks Richard, a whole new world of baking is in my future. 

The problems I had before were sticky, cracked cookies. This comes from too wet a batter and not enough folding. You want your batter to flow like lava and mine was no lava. You should also just go ahead and buy an instant digital thermometer that can read a temperature while touching the bottom of the pan, and a digital scale is a must. Converting recipes from grams to cups and teaspoons is not very accurate and you may end up with a whole sheet of failed cookies. It's not fun, it's sad and depressing and makes you feel like a failure (not good). 

During our class, we watched Richard demonstrate the whole process, then under his supervision made our own batch. It was nice to have someone there to tell you when your batter looked like lava, and give your tips the best piping technique. It's also good to make a template on the back of some parchment paper. A 1 1/2 inch round makes a good size cookie and the template insures you'll be able to match your cookies for proper sandwiching. Another good trick to test for doneness is to press down on the center of the cookie and wiggle. If it wiggles a lot, cook it a little longer, if it wiggles very slightly it should be done. Also, you should peel them off the silpat by bending the mat, not attempting to lift the cookie. Fill cookies when cooled completely. 

We made vanilla cookies with a little espresso powder sprinkled on top and filled with chocolate ganache and salted caramel. Yum! They were so good. I can't wait to try them again. I'll be buying pre-made almond flour from here on out. If you've tried macarons before without luck, don't give up, keep trying, it's all about the proper technique. 


I also mentioned in my last post about macarons that I was headed to NYC and wanted to try some macarons from Bisous Ciao Macarons in the East Village. We happend to stay very near here, so a trip wasn't too far. They have mixed reviews on yelp, but Michael and I really enjoyed our flavors (blood orange with chocolate ganache and strawberry with basil chocolate ganache). The flavors were intense and the cookie itself was just what you expect from a quality macaron. My next traveling macaron stop will jave to be Pierre Herme in Paris. He's the godfather of Macarons (and french desserts) and why not travel to Paris for another tasting? Do you have a favorite french macaron shop in your city? 

the following photos from Michael Townsend at Bisous Ciao, NYC 


Feel free to peruse the rest of Michael's photos on Flickr or follow his Tumblr account! 

September 15, 2011

a fight with french macarons

I've needed a good reason for years to try making macarons, French macarons. They are finicky, crisp-shelled, chewy-centered sandwich cookies, and usually better from a professional. I am no Pierre Herme, and there are bakeries everywhere dedicated solely to making these delicious bites. They are one of the most artistic cookies you can imagine with endless flavor combinations and they scare me.

I've been drooling over some of Tartelette's recipes for a long time and finally decided to use macarons as the recipe of the month for the Easy Bake cOven blog. I hoped two months to try macarons would be enough time, but even I didn't succeed in my own deadline. Summer scheduling is always difficult, and I'm guessing some people detest the idea of turning on their oven on a blistering summer day (even a mere 280˚F). For me, the oven is always welcome on our cold, depressingly foggy summer nights. I intended to make these on the last day possible (August 31) and post at the last minute, but I didn't. I came home that night to a messy kitchen and decided I should probably clean instead of make mess upon mess. We are nearing the end of September... and I have nothing to show!

I attempted the macarons on a Sunday hoping to donate them to a bake sale. They looked like they should, feet around the edge and a crisp shell. The problem I had was that they stuck really bad to the parchment. I tried scraping them off gently but most of them mushed into a half moon. I have no clue why this happened - every new recipe is an experiment right? I'm guessing it could be two things: too heavy of a batter or I left them too long to dry before baking. Because I don't know the answers, I quickly enrolled myself in a class from Baking Arts here is SF. Putting birthday money to good use. I took a class from Richard before and learned to make some of the most delicious chocolate truffles. I trust that this class will cure my horrible first experience and I promise to share everything with you mid October after my class.

I did rescue them somewhat... and turned my crumbs into "pistachio cacao nib balls" dipped in dark chocolate. Not my best by any means but it was good to avoid wasting a tasty cookie.

Now I will keep telling myself, "Failure is the only opportunity to begin again more intelligently" -Henry Ford. 

image from bisous ciao macarons, pure art
Incredible inspiration! 
I must visit here during my nyc trip in just over a week!

June 7, 2011

Peanut Butter Filled Chocolate Cookies

I don't normally take step by step photos while I'm baking, but for this cookie I made an exception. I really love these cookies and they have a nice wow-factor because most people don't know how to make them. Well, I'm going to spoil the fun for all of you. Feel free to stop reading at any point to keep from revealing the entire mystery.

 Combine 1 1/2 C flour 1/2 C cocoa powder and 1/2 tsp baking soda

 mmmm cocoa

mmmm peanut butter

 Cream 1/2 C butter, 1/2 C sugar, 1/2 C brown sugar, and 1/4 C peanut butter in your mixer stopping half way through to scrape down the sides

 Add 1 egg, 1 T milk, and 1 tsp vanilla until combined

Add as much of the flour mix as you can with the mixer (likely all of it) and stir in the rest with a wooden spoon if your mixer sounds like it might die 

 Divide the dough into two and form them into disks. Cut each disk into 4 pieces. From each of these pieces make four 1 1/4" balls and set aside

 Clean out your mixer bowl and add 3/4 C powdered sugar and 1/2 C peanut butter. Cream until thoroughly mixed and the dough holds together when pinched

 Divide the dough the same as the chocolate balls, except the balls will be 3/4 inch

 Flatten out the chocolate ball and place a peanut butter ball in the center

 Pinch the chocolate dough around the peanut butter ball making sure to cover it entirely and as evenly as possible

Fill a small bowl with 2 T granulated sugar. Place each ball on an ungreased baking sheet. Dip a glass into the sugar and lightly press down on each ball flattening them slightly. Dip in sugar again and repeat until all of the dough is flattened (to make the sugar stick to begin, touch the glass to the cookie dough and then into the sugar bowl)

Bake at 350˚ for 7-8 minutes or until the tops start to crack. Cool on the sheet for 1 minute then transfer to parchment paper to cool completely. Enjoy warm. 


October 28, 2010

Halloween! It's so close I can taste it....


Holidays are fun to make treats for, especially Halloween! There are parties to attend and parties to throw and parties to organize for your children (or yourselves if you live in sf where everyone seems to be crazed by Halloween well over the age most people dress in costume). If you are going to a party or just want to make something really cute, I have some ideas for you. Some are links, some are my own recipes, but all are good and fun. 


1. Vampire Bites
My sister was feeling extra crafty the other day and decided to make these Apple andPeanut Butter Sandwiches for my nephews's Halloween party at their day care. A little less sugary than all the cupcakes, cookies, and candy kids consume and easy to make. They were so cute I was inspired to share some of my favorite Halloween treat ideas with you. Most of them are links to other blogs so I hope you enjoy and feel inspired too! 


What you need:
Red Apples (the darker the skin the better) or you could go super stylish and have different shades of vampire lipstick...
Peanut Butter
Marshmallows (small and large)
Slice apples into thin wedges cutting out the core, spread some peanut butter on the insides of two slices. line the curved side with some small marshmallows for teeth. Cut the large mallow (you can use scissors) into pointy teeth and add two of these for fangs. Voila. Simple and fantastic. Just look how much my cute little nephew likes them!


2. Boo-tiful Ghost Cake
How can you resist these cute little marshmallow ghosts? Annie of Annie's Eat's has been on a rampage of all things cute and halloween the past few posts. Please check out her blog - you might be blown away by all of these cute treats. 

3. Witches Fingers Cookies
I first had these cookie in college when a friend's mom made them for a halloween party for some church folks. Other great memories from this night were M dressed as a pink flamingo lawn ornament... and a fantastic bird bath and garden gnome were also present. 

4. Caramel Apples
These are one of my favorite things... if you look closely you will see me staring longingly into the display case at these beauties. We didn't buy one though (sad face) we bought a giant sugary disc some may know as an elephant ear? Anyways, I love caramel apples. We used to get them at a local apple orchard when we were younger. At some point we got lazy (or my parents decided they were too expensive) and just bought caramel dip from the grocery store - dangerous - but I'm returning to one of my all time favorites for number 4. 

Food Network Recipe - caramel from scratch
All Recipes - caramel pieces recipe
Be creative with your toppings!

5. No-Bake Spiderweb Cheesecake
Martha's army is at it again. Spiderweb treats are very cute and creepy. Even better if you can find gummy spiders to decorate with. This cheesecake seems easy enough since you don't have to bake it. No-Bake cheesecake is definitely a time saver when you are planning a party! 

6. Devil's Food Cake with Flame Tuiles
Maybe for a more sophisticated crowd. This cake just looks sexy. Fit for a vampire (but not the Twilight kind - they are too nice for this cake). 
Another Martha. She is just too good at holiday baking. 

7. Spooky Drinks
This cocktail reminds me of a Moscow Mule (slowly making a come back  in SF) but with Rum instead. You could pretty much top any cocktail with black decorating sugar and spiders but I'll share the recipe anyways. 

8. Pumpkin Cookies
Yep, I just posted about these the other day! (self promotion) They were one of three recipes for the Easy Bake cOven's October recipe list. 


9. Pumpkin Ice Cream Sandwiches


To make Ice Cream Sandwiches, thaw your favorite pumpkin ice cream at room temperature until easy to scoop. Using a spoon or small ice cream scoop, add some ice cream to the flat side of one cookie and flatten it slightly. Place another cookie on top and smooth sides. Keep in freezer until ready to eat. It might be good to under-bake your cookies slightly so they don’t get hard in the freezer. 


10. Mini Mummy Dogs (Halloweenies)

I made these with my sister for Halloween last year. She is just so crafty right? I think she has a picture somewhere on her camera but I don't have it (ahem....) Ours were cuter, because we used little smokies. Use hot dogs if you like, and wrap with crescent roll dough cut into thin strips. The thinner the better. 
Here is the link in case you forget (little smokies + crescent roll dough) hehe

What is your favorite Halloween Treat? 

July 28, 2010

The Best Chocolate Chip Cookies.... so far

I've been on a mission to find the best chocolate chip cookie recipe. I have one I like for my cookie cake, but not one I like on it's own. (Alton's cookies are pretty tasty but you need bread flour on hand). I have high expectations for my cookies. A chocolate chip cookie cannot be thin and crispy, it can't be tough or dry, it has to have the right chip to batter ratio, it should be a little salty, and it must be so irresistible out of the oven you burn your tongue eating one. There are a lot of factors that this cookie must live up to. It has taken quite a while, but I think I found one that meets most of them. 


Have you ever searched for "the best _______ ever" (you insert something into the blank). I do this a lot. Looking for anything from the best tapas restaurant, or the best hair product for curls - I think you understand. I decided to google "the best chocolate chip cookie ever" and there were so many results. I clicked on one link that claimed to contain the best. It seems like a good resource too - I'll have to dig a little deeper to find out. There are literally tons of recipes all from a variety of sources. This cookie recipe happens to be from a cookbook, Mom's Big Book of Baking, which sounds so cute. I just picture a super mom serving warm cookies to her kiddies when they get home from school... The reviews are great, and there are tips on including kids in your baking. The recipes are also supposed to be quick - not time consuming - for all of you moms running around the house after your kids... or dads. 


The recipe proved tasty. I made a few adjustments to the method and really enjoyed the results. The cookies bake evenly and the dough freezes incredibly well. I like to bake some, then roll little balls of dough and freeze them. It's the best way to make cookies last without going stale - especially if your family consists of two people who should probably not eat so many sweets because someone bakes too much.... 


Try these delicious little morsels soon. 


Mom's Big Book of Baking (EasyRead Large Edition): 200 Simple, Foolproof Family Favorites for Birthday Parties, Bake Sales, and More


Chewy Chocolate Chip Cookies 
adapted from Mom's Big Book of Baking


2 1/2 C flour
1 tsp baking soda
1 tsp salt
2 sticks butter melted 
1 C light brown sugar packed
1/2 C sugar
1 tsp vanilla
2 eggs
2 C chocolate chips


Preheat the oven to 375˚F. Line a baking sheet with a silicone mat if you have one. (I baked both with and without and didn't notice much difference). In the bowl of a standing mixer, combine the butter and sugars and beat until fluffy. Add eggs one at a time and the vanilla. Mix until smooth. Measure the flour, soda and salt directly into the sugar mix. Stir on low speed until just combined. Mix in the chocolate chips. (alternately you can mix everything with a wooden spoon or hand mixer if you don't have a stand mixer). Using a cookie scoop, measure out dough balls and place them on the silicone mat. Place the baking sheet in your freezer for 10 minutes, then place the sheet directly into the preheated oven. Bake for 10 minutes, or until the cookie turn golden brown. Remove from the oven and leave the cookies on the sheet for an additional 4 minutes. Transfer the cookies to a wire rack. Eat immediately (or store in an airtight container). 


ps. If you decide you like the cookbook above, try buying it through the link provided! Just click on the image. 

May 29, 2010

Easy Bake cOven - Blondies

This month, I decided to ask everyone to make whatever recipe they wanted. Usually one member selects the recipe of the month, but I thought it would be fun to see what people made when given the chance. It is sometimes hard to find time to make the chosen recipe; either for lack of time, or lack of event that needs baked goods. I'm always looking for these events so M and I don't eat ourselves into sugar comas. Don't laugh, I'm not joking here. Food comas happen and sugar comas can happen too, thankfully not too often. 


I know it has been a while since I last posted, so before I share with you the recipe pictured above, I'll tell you a little about what's been happening this past month…. 

Work was busy during the beginning of the month. It's good to be busy. I'm pretty sure that M and I had something going on almost every night of the week before we left for vacation… and then we left for vacation. We visited family on the East coast, and set foot in the state of Texas to see more family courtesy of our unexpected layover. I didn't bake anything 3/4 of the month, but made it all up the Sunday after we returned. 

Since I am making our office birthday cakes now, I needed two for this past Monday. Yes, two. Why share on your birthday? And when my office has the opportunity for more cake, they will definitely take it. (The standing joke is screening new hires for birthday months we don't currently have). I also needed a sample cake for a large party I'm doing next weekend. Ambitious yes, possible yes. I even had time for a movie, but I wouldn't recommend it unless you have one of those squishy gel mats they advertise for chefs in the back of my design magazines. Tired feet. 

So that Sunday I made ten six inch cake rounds, and assembled a single layer cake, a double layer cake, and a triple layer cake. The other layer is hanging out in the freezer for now. I guess you could say I made up for all of that non baking in one giant swoop. Satisfying. I'm not posting about cake though. I'm posting about Blondies. The ultimate cookie-bar-brownie-like dessert. They have chocolate chips, butterscotch chips, coconut flakes, and walnuts. That is a lot of stuff in one bite. They are extremely sweet and will probably give you cavities if you don't brush you teeth, but I say worth eating. And worth passing out to your friends (remember - avoid sugar coma). I made these once before and it was a catastrophe. My oven would not ignite, my batter sat too long on the counter, and the leavening reacted too early. Later we learned to turn off the heater when we needed to start the oven - our 1920's era apartment may not have the necessary electrical service required to support all of our gadgets. Someday I'll have a kitchen of my own (with two ovens) and baking ten cakes in one day will literally be a  piece of cake. 

Be sure to check out the Easy Bake cOven blog for more recipe entries this month. 

Blondies
adapted from Baking From My Home to Yours, Dorie Greenspan
Baking: From My Home to Yours

2 C flour
3/4 tsp baking powder
1/4 tsp baking soda
1/2 tsp salt
2 sticks butter
1 1/2 C light brown sugar
1/4 C sugar
2 eggs
1 tsp vanilla
1 C chocolate chips
1 C Butterscotch chips
1 C walnuts
1 C shredded coconut

Preheat oven to 325˚F. Butter a 9x13 inch baking pan. (I don't have one so I used a 10x15 inch jelly roll pan - it makes thinner blondies - but for the thick version use a 9x13 pan). 

Cream Butter for 3 minutes with the paddle attachment. Add sugars and cream again until light and fluffy. Add the eggs one at a time and mix for one minute in between. Add vanilla and mix until incorporated. 

Mix the dry ingredients together and add slowly to the mixer. Mix on low speed until just combined. (this means there might be a little flour visible). Add chips, nuts, and coconut with a spatula - or if you are feeling risky you can use the mixer on low. Spread the batter into the pan and even out the top. Bake for 40 minutes or until the top is nice and golden and the bars begin to pull away from the sides of the pan. A knife tested in the center should come out clean unless you happen to stick it into a melted chocolate piece. 

Cool on a wire rack for 15 minutes, invert, and turn topside up to finish cooling. Cut into bars - yields 32. 

you might also like...

Related Posts Plugin for WordPress, Blogger...