October 16, 2011

Successful French Macarons!


Last month, I had a Fight with French Macarons. Literally. They stuck to my parchment and the tops cracked a bit. I had no idea why, so I decided to take a class from Richard at Baking Arts here in San Francisco. Richard is pastry genius and a fantastic teacher. His classes range from the most simple biscuit and scones to intricate sugar flowers and souffles. He's a stickler for his favorite brand of chocolate and makes the most seemingly-difficult macaron easy. So, thanks Richard, a whole new world of baking is in my future. 

The problems I had before were sticky, cracked cookies. This comes from too wet a batter and not enough folding. You want your batter to flow like lava and mine was no lava. You should also just go ahead and buy an instant digital thermometer that can read a temperature while touching the bottom of the pan, and a digital scale is a must. Converting recipes from grams to cups and teaspoons is not very accurate and you may end up with a whole sheet of failed cookies. It's not fun, it's sad and depressing and makes you feel like a failure (not good). 

During our class, we watched Richard demonstrate the whole process, then under his supervision made our own batch. It was nice to have someone there to tell you when your batter looked like lava, and give your tips the best piping technique. It's also good to make a template on the back of some parchment paper. A 1 1/2 inch round makes a good size cookie and the template insures you'll be able to match your cookies for proper sandwiching. Another good trick to test for doneness is to press down on the center of the cookie and wiggle. If it wiggles a lot, cook it a little longer, if it wiggles very slightly it should be done. Also, you should peel them off the silpat by bending the mat, not attempting to lift the cookie. Fill cookies when cooled completely. 

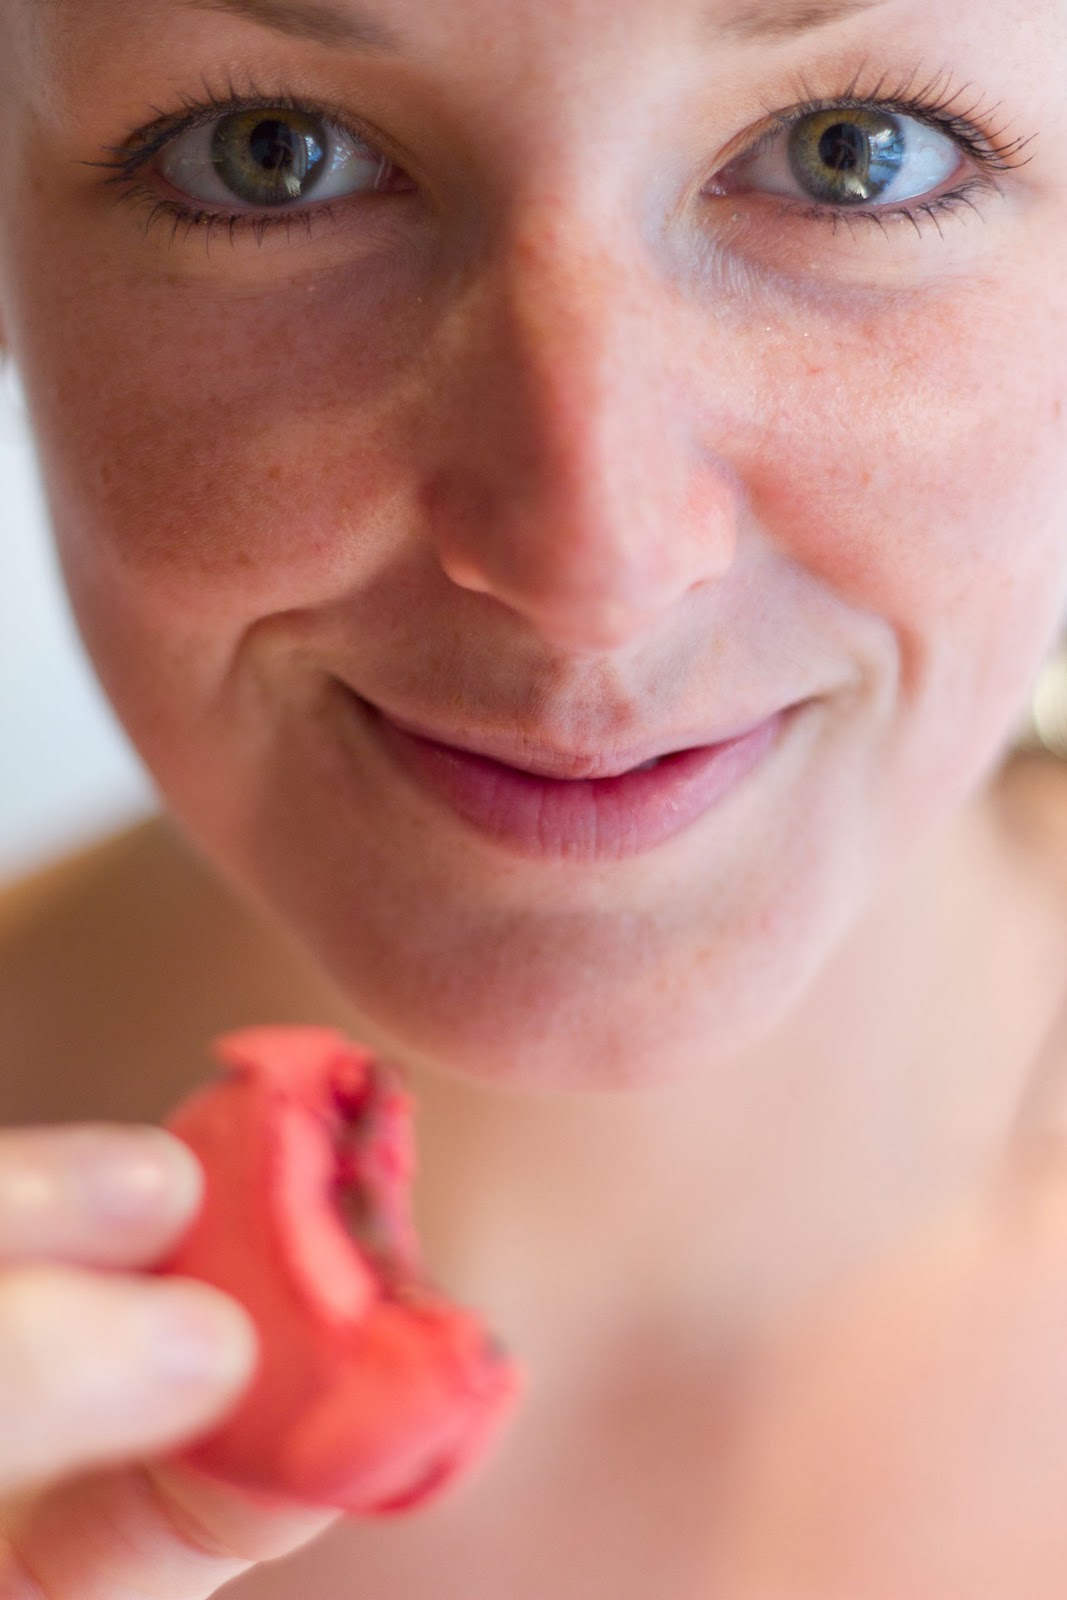
We made vanilla cookies with a little espresso powder sprinkled on top and filled with chocolate ganache and salted caramel. Yum! They were so good. I can't wait to try them again. I'll be buying pre-made almond flour from here on out. If you've tried macarons before without luck, don't give up, keep trying, it's all about the proper technique. 


I also mentioned in my last post about macarons that I was headed to NYC and wanted to try some macarons from Bisous Ciao Macarons in the East Village. We happend to stay very near here, so a trip wasn't too far. They have mixed reviews on yelp, but Michael and I really enjoyed our flavors (blood orange with chocolate ganache and strawberry with basil chocolate ganache). The flavors were intense and the cookie itself was just what you expect from a quality macaron. My next traveling macaron stop will jave to be Pierre Herme in Paris. He's the godfather of Macarons (and french desserts) and why not travel to Paris for another tasting? Do you have a favorite french macaron shop in your city? 

the following photos from Michael Townsend at Bisous Ciao, NYC 


Feel free to peruse the rest of Michael's photos on Flickr or follow his Tumblr account! 

October 3, 2011

Apple Fritters


I've always enjoyed apple season. We used to go and pick apples at Stephenson's Orchard as a family when I was young. My sister and I would climb the trees to get some of the best apples from the tops. I have fond memories of blue rimmed heart shaped sunglasses during these adventures. Yeah 80's. I don't think you were supposed to climb the trees but we were little and probably light enough it didn't matter. We picked a ton of apples, mostly Jonathan apples, and stored them in a fridge in the garage. I miss the convenience of having an extra fridge or freezer. I don't know if the orchard still exists for picking in the Kansas City area, but the restaurant that had some of the best apple desserts does not. I was always fascinated by their caramel apples, and still am to this day. I'll be making my own soon so don't fret. I also have a special place in my heart for fried dough balls filled with apple chunks. 


I picked a variety of recipes for the month of September for the Easy Bake cOven blog but I chose to make the fritters first. I usually get around to making quite a few of the recipes but these were calling me. Michael asked why I bought so many apples at Trader Joe's when we got back from our NYC trip, my response was baking. It's usually baking when I buy an excess of one particular ingredient. Unless butter is on sale... 


I don't fry things often. Sometimes Michael and I will make tortilla chips if we're out and have nothing but corn tortillas, but this is the extent. Desserts are excessive to start and I feel worse eating something fried. Doughnuts fall in this category. I love doughnuts but don't have them often. Guilty pleasures. I really enjoyed these little fried dough balls. Simple and quick yet small enough you don't feel bad eating a few. 


Apple Fritters
Pioneer Woman
I halved the recipe and it made about 2 dozen ping pong ball sized fritters. 


2 C all purpose flour
1/2 C sugar
3 T sugar
2 1/4 tsp baking powder
1 1/4 tsp salt
2 tsp ground cinnamon
2 large eggs
3/4 C milk
2 tsp vanilla
2 T melted butter
2 whole granny smith apples peeled and diced
powdered sugar for dusting

In a medium bowl, combine flour, sugar, baking powder, cinnamon, and salt.


Melt the butter in a large liquid measuring cup and add the milk, egg and vanilla. Whisk to combine. Add the wet ingredients to the dry and stir until little flour remains. Add in the apples and stir to combine. 


Heat a couple of inches of canola oil over medium heat. I kept my oil temperature around 325˚F and the fritters took about three minutes each. Using a small cookie scoop, drop a few blobs of dough into the hot oil, don't overcrowd or your oil will not stay consistently hot. Flip them over to insure even golden brown and test your first batch to make sure they are evenly cooked. Drain on a paper towel and sprinkle with powdered sugar for eating. 

September 22, 2011

Almond Spiced Granola


You know how much I like granola right? I like chewy granola and crunchy granola, and I like trying new recipes. I recently adapted a recipe from Whole Foods and though I may have cooked it two minutes longer than I should (I blame allergies for lack of smell) I've enjoyed it. It's versatile because it is sweet and crunchy and no flavor is too overpowering.

If you are like me and feel ravenous before dinner, you can eat it by the handfull while rummaging through your kitchen for something to cook. You could also sprinkle it on muffins before baking, make a delicious yogurt parfait with seasonal fruits and agave nectar (or honey), use it as a topping for ice cream, make trail mix, or scoop it from a bowl filled to the brim with milk.


I like to eat yogurt wearing a toga, but you can wear whatever you like. Any way you eat it, I'm sure you will like it. Feel free to make it something you really love.

Almond Spiced Granola
adapted from Whole Foods

3 C old fashioned oats
3 T whole wheat flour
1 C slivered almonds
1 C pecan pieces
1/4 tsp kosher salt
2 tsp ground nutmeg
1/2 tsp pumpkin pie spice (or equal amounts of cinnamon, nutmeg and ginger)
1 tsp almond extract (or substitute vanilla)
1/2 C honey
1/3 C canola oil

Preheat the oven to 275˚F and line a large rimmed baking sheet with a silpat. Mix the dry ingredients and nuts in a large bowl. In a measuring cup add oil, honey and vanilla and stir. Add the honey mix into the oats and stir to coat evenly.

Bake for 30-40 minutes stirring occasionally to break up the larger pieces. Remove from oven when it's light brown and fragrant. Cool on the baking sheet for 1 hour or until completely cool (it will crisp up if it seems too wet after baking). Store in an airtight container.


September 15, 2011

a fight with french macarons

I've needed a good reason for years to try making macarons, French macarons. They are finicky, crisp-shelled, chewy-centered sandwich cookies, and usually better from a professional. I am no Pierre Herme, and there are bakeries everywhere dedicated solely to making these delicious bites. They are one of the most artistic cookies you can imagine with endless flavor combinations and they scare me.

I've been drooling over some of Tartelette's recipes for a long time and finally decided to use macarons as the recipe of the month for the Easy Bake cOven blog. I hoped two months to try macarons would be enough time, but even I didn't succeed in my own deadline. Summer scheduling is always difficult, and I'm guessing some people detest the idea of turning on their oven on a blistering summer day (even a mere 280˚F). For me, the oven is always welcome on our cold, depressingly foggy summer nights. I intended to make these on the last day possible (August 31) and post at the last minute, but I didn't. I came home that night to a messy kitchen and decided I should probably clean instead of make mess upon mess. We are nearing the end of September... and I have nothing to show!

I attempted the macarons on a Sunday hoping to donate them to a bake sale. They looked like they should, feet around the edge and a crisp shell. The problem I had was that they stuck really bad to the parchment. I tried scraping them off gently but most of them mushed into a half moon. I have no clue why this happened - every new recipe is an experiment right? I'm guessing it could be two things: too heavy of a batter or I left them too long to dry before baking. Because I don't know the answers, I quickly enrolled myself in a class from Baking Arts here is SF. Putting birthday money to good use. I took a class from Richard before and learned to make some of the most delicious chocolate truffles. I trust that this class will cure my horrible first experience and I promise to share everything with you mid October after my class.

I did rescue them somewhat... and turned my crumbs into "pistachio cacao nib balls" dipped in dark chocolate. Not my best by any means but it was good to avoid wasting a tasty cookie.

Now I will keep telling myself, "Failure is the only opportunity to begin again more intelligently" -Henry Ford. 

image from bisous ciao macarons, pure art
Incredible inspiration! 
I must visit here during my nyc trip in just over a week!

September 3, 2011

Lebovitz's Mint Ice Cream

I finally let Michael eat the last scoop of ice cream this week. Mid August, I warned him I needed one scoop to photograph for the blog and he reluctantly put the tub back in the freezer and went for vanilla instead. He reminded me a few times that I needed to take photos so he could eat it, and I reminded him that I needed good light for a good ice cream photo. I also needed to be home before 7 with nothing else to do on a weeknight to make this happen. August was a busy month.

I tried a new recipe from The Perfect Scoop by David Lebovitz. I think he is currently traveling around San Francisco and I'm resisting the urge to stalk him. I might have to visit Smitten Ice Cream soon though because he gave it a pretty good review on his blog... ice cream via liquid nitrogen. hmm.


I chose real mint ice cream. Why would I do such a thing you ask? Well, I have a garden now... you could say I'm developing a green thumb, and I'm growing mint. Mint is an easy plant even if you have a black thumb. Just beware as it is likely to take over areas of your garden unless confined to a pot. My mint is weird. It has smaller leaves and when it gets tall the leaves start to turn purple (this may mean my window box is too small). I used it anyways, even some of the purple, and it turned into a very refreshing ice cream. I added chocolate chips of course because mint needs the best flavor companion possible and I was a bit nervous about the strong fresh mint taste. If all else failed, at least the would be chocolate.

I liked it, I think Michael liked it too. He ate most of it anyways with bits of leftover cake that I didn't make into cake pops. My preference is still peppermint extract flavored ice cream, but this one was nice for a change, and nice to be able to use something I've grown in a recipe.


Mint Ice Cream
The Perfect Scoop, David Lebovitz

 1 C whole milk
1/4 C sugar
2 C heavy cream
5 large egg yolks
2 C fresh packed mint leaves
1 C roughly chopped chocolate (mini chocolate chips work well too) my addition

Heat milk, sugar, and 1 C cream in a heavy bottom saucepan. Add the mint leaves and steep for one hour. This means stir them up and cover with a lid. Go do some sit-ups since you'll be eating this later, and and strain the mixture through a fine mesh strainer. Make sure you push leaves against the strainer to extract as much liquid as possible. Lebovits says your cream will be a lovely shade of emerald, but mine was barely green. Warm this mix back up on meduim heat.

In another bowl, whisk the egg yolks. Once the milk is warm, slowly add the milk, whisking constantly, to the eggs and then return all of this to the pot and continue to heat until the mixture is thick enough to coat the back of a spoon. Stir constantly and try not to let anything burn to the bottom.

In another bowl (more dishes please!) add the remainder of the cream and set the mesh strainer on top (remove leaves). Pour the minty custard through the strainer again to eliminate scrambled eggs in your ice cream and stir into the cream. Place over an ice bath to help cool. Cover and refrigerate overnight or at least four hours. You can add green food coloring now.

Prepare the ice cream according to your machine manufacturer's recommendations. Be sure you've frozen your bowl for as long as required or your ice cream will never get thick. Freeze again for a few hours until it's scoopable, about 4 hours.

Ice cream takes a while, so it's best to plan ahead if your're making it for an event!

Happy Churning!


July 16, 2011

to Cake Pop or to Pake Cop

I made another wedding cake this weekend. It was great fun, except that in addition to the wedding cake, I made a cake for my co-worker's son's birthday. I don't think I'll overbook myself again and I'm asking all of you to hold me accountable. I can't imagine another week of working 10+ hour days, then standing in the kitchen for another few hours each night in preparation. The birthday cake was fun and gigantic, and I'll be sure to share some photos and recipes later. The wedding cake was much less stressful than my first, and it turned out well. I guess you learn a little bit each time, right?


I'm working on a post for the wedding cake, but was hoping you all might have some great ideas for all of my leftover scraps. You know, the rounded portions of the cakes you have to sacrifice to make each layer perfectly level. As much as I love cake pops, I wanted to make something a little less sweet (pake cops). Maybe incorporate chocolate ganache into the batter instead of frosting? I want something a little more grown-up. I'm guessing Michael would prefer to keep sprinkling the scraps on top of ice cream...

Ok people, I'm all ears and a bit brain-dead. Looking forward to two more cakes and a pie this week. hehe. (now in your best mad scientist voice) I. Will. Never. Stop. Baking!

July 12, 2011

Beet Chips

When I was little, the only beets I knew were in a jar the fridge submerged in dark purpleish-red juice and they were gross. I don't like pickled beets (Michael does). I don't like many things pickled but beets are at the top of my list. It wasn't until I moved to SF that I experienced beets in a positive way. A lot of restaurants jumped on the "beet and goat cheese" bandwagon, and I finally realized I loved roasted beets. Naturally sweet and earthy, how can you resist?

It's hard to cook beets any other way, or make them different because beets always taste the same. I don't  eat beets with goat cheese much anymore. The best beet salad I had recently was literally a pile of thinly sliced red and gold beets with a handful of greens, bleu cheese and candied walnuts from Chez Spencer. Yum. I often get tired of roasted beets. When this happens, I go in search of a new recipe. I've heard of beet cake, and beetloaf, but the most appealing were beet chips!


We had a little package of beet chips from Whole Foods in my office recently. One of my bosses set them out. My office likes to munch. If they had been normal potato chips, they may have made it past lunch, but the beet chips last a few days. They were thick cut and fried. Shame on you Whole Foods! You don't have to fry all things to make them taste good. Instead, I sliced up a few beets with the mandoline, sprinkled them lightly with kosher salt and baked them until they were light and crispy. They are delicious and pretty. They also don't taste as vegetal as the WF fried version. They are a great snack, and most likely an easy way to get kids to eat something different. Who would not try a purple chip?


The only unfortunate thing about beet chips is they shrink so much when you bake them. Almost by half. So, in order to feed a lot of people for an interesting party snack, you would have to peel and slice a lot of beets. Not bad if you have a little time and like pink hands.


Beet Chips
10 medium size beets peeled and sliced thin on a mandoline (or as thin as your knife can slice them)
2 T olive oil (optional)
kosher salt

Slice the beets and line a couple of baking sheets with parchment or a silicone mat. Place the beets in a single layer and sprinkle lightly with salt. (also you can toss the chips in olive oil before placing on the sheet) Bake at 350˚ for 15-20 minutes. Most of the moisture should be gone. Let air dry until completely crisp. Enjoy!

you might also like...

Related Posts Plugin for WordPress, Blogger...